The IPFS Photo Gallery app is a simple NodeJS Express app. It is an example of using the FISSION web API, plus our Heroku Marketplace Add On.
Running the IPFS Photo Gallery on Heroku in Alpha Mode
While our Heroku add-on is in Alpha mode, we need to manually whitelist users by their Heroku email address. Alpha testers can then manually add the add-on. These are the steps to follow on the command line to do this.
Note: Heroku accounts are free, but will require a credit card on file in order to work with apps and add ons
Clone the repo locally
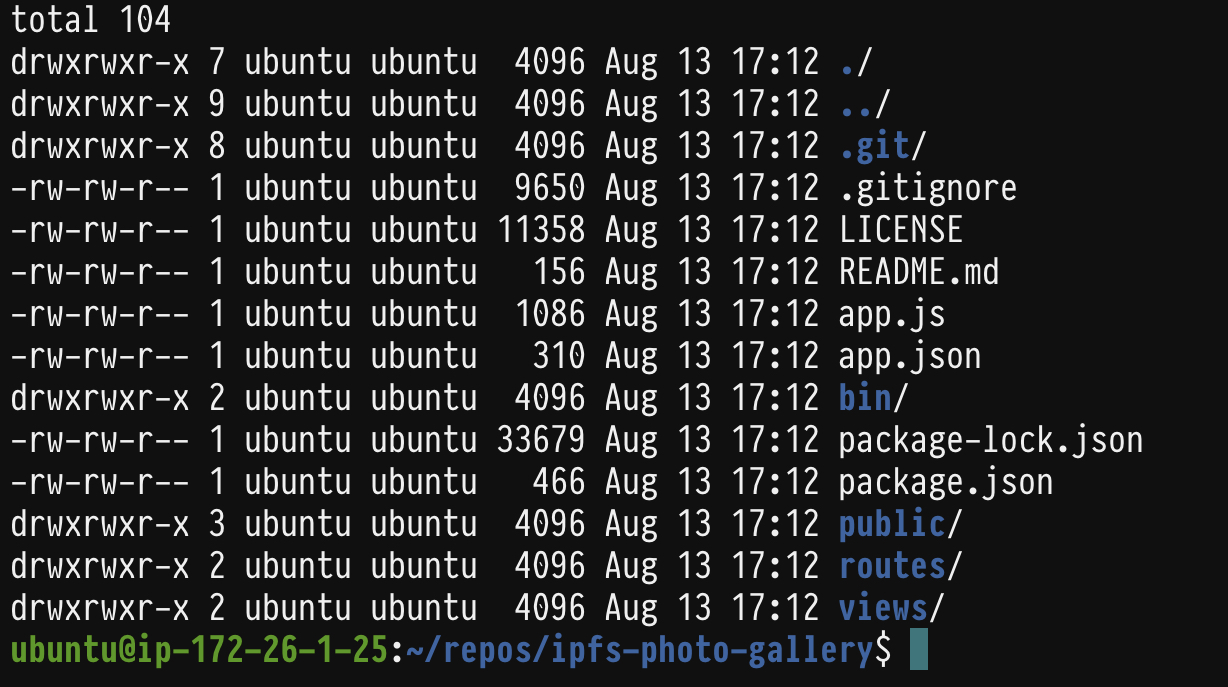
In your terminal, clone the ipfs-photo-gallery repo:
git clone https://github.com/fission-suite/ipfs-photo-gallery
You’ll now change directory to move into the newly created folder:
cd ipfs-photo-gallery

Create a Heroku app
Assuming you already have the Heroku CLI installed and logged into for your operating system (run heroku login if you’re not logged in), you can create an app:
heroku create YOURAPPNAME

Manually add the FISSION Heroku Add On
Assuming we previously whitelisted your email address tied to your Heroku account, you can manually add the FISSION IPFS add-on to your app:
heroku addons:create interplanetary-fission

Note: Heroku requires you to add credit card information to install add ons. Don’t worry, the fission add on is free and won’t charge you anything.
Also note: our docs aren’t published yet, so that docs command won’t work!
Add Heroku as a git destination
Use the Heroku git command to add it as a remote git repo:
heroku git:remote --app YOURAPPNAME

Push the app code to Heroku
While still in the directory where you cloned the ipfs-photo-gallery code, push the code to Heroku using git:
git push heroku
Great! You can now visit https://YOURAPPNAME.herokuapp.com to see your own IPFS photo gallery. It should be empty right now, because your user, the
Use curl to add images to IPFS using the FISSION web api
Now that you have the Heroku add on provisioned, your user / password can be used anywhere, including on your local system. So feel free to write local apps or experiment with curl to push content into IPFS. You can use the default IPFS gateway https://gateway.ipfs.io/ipfs/ – plus add the hash at the end – to see any content displayed.
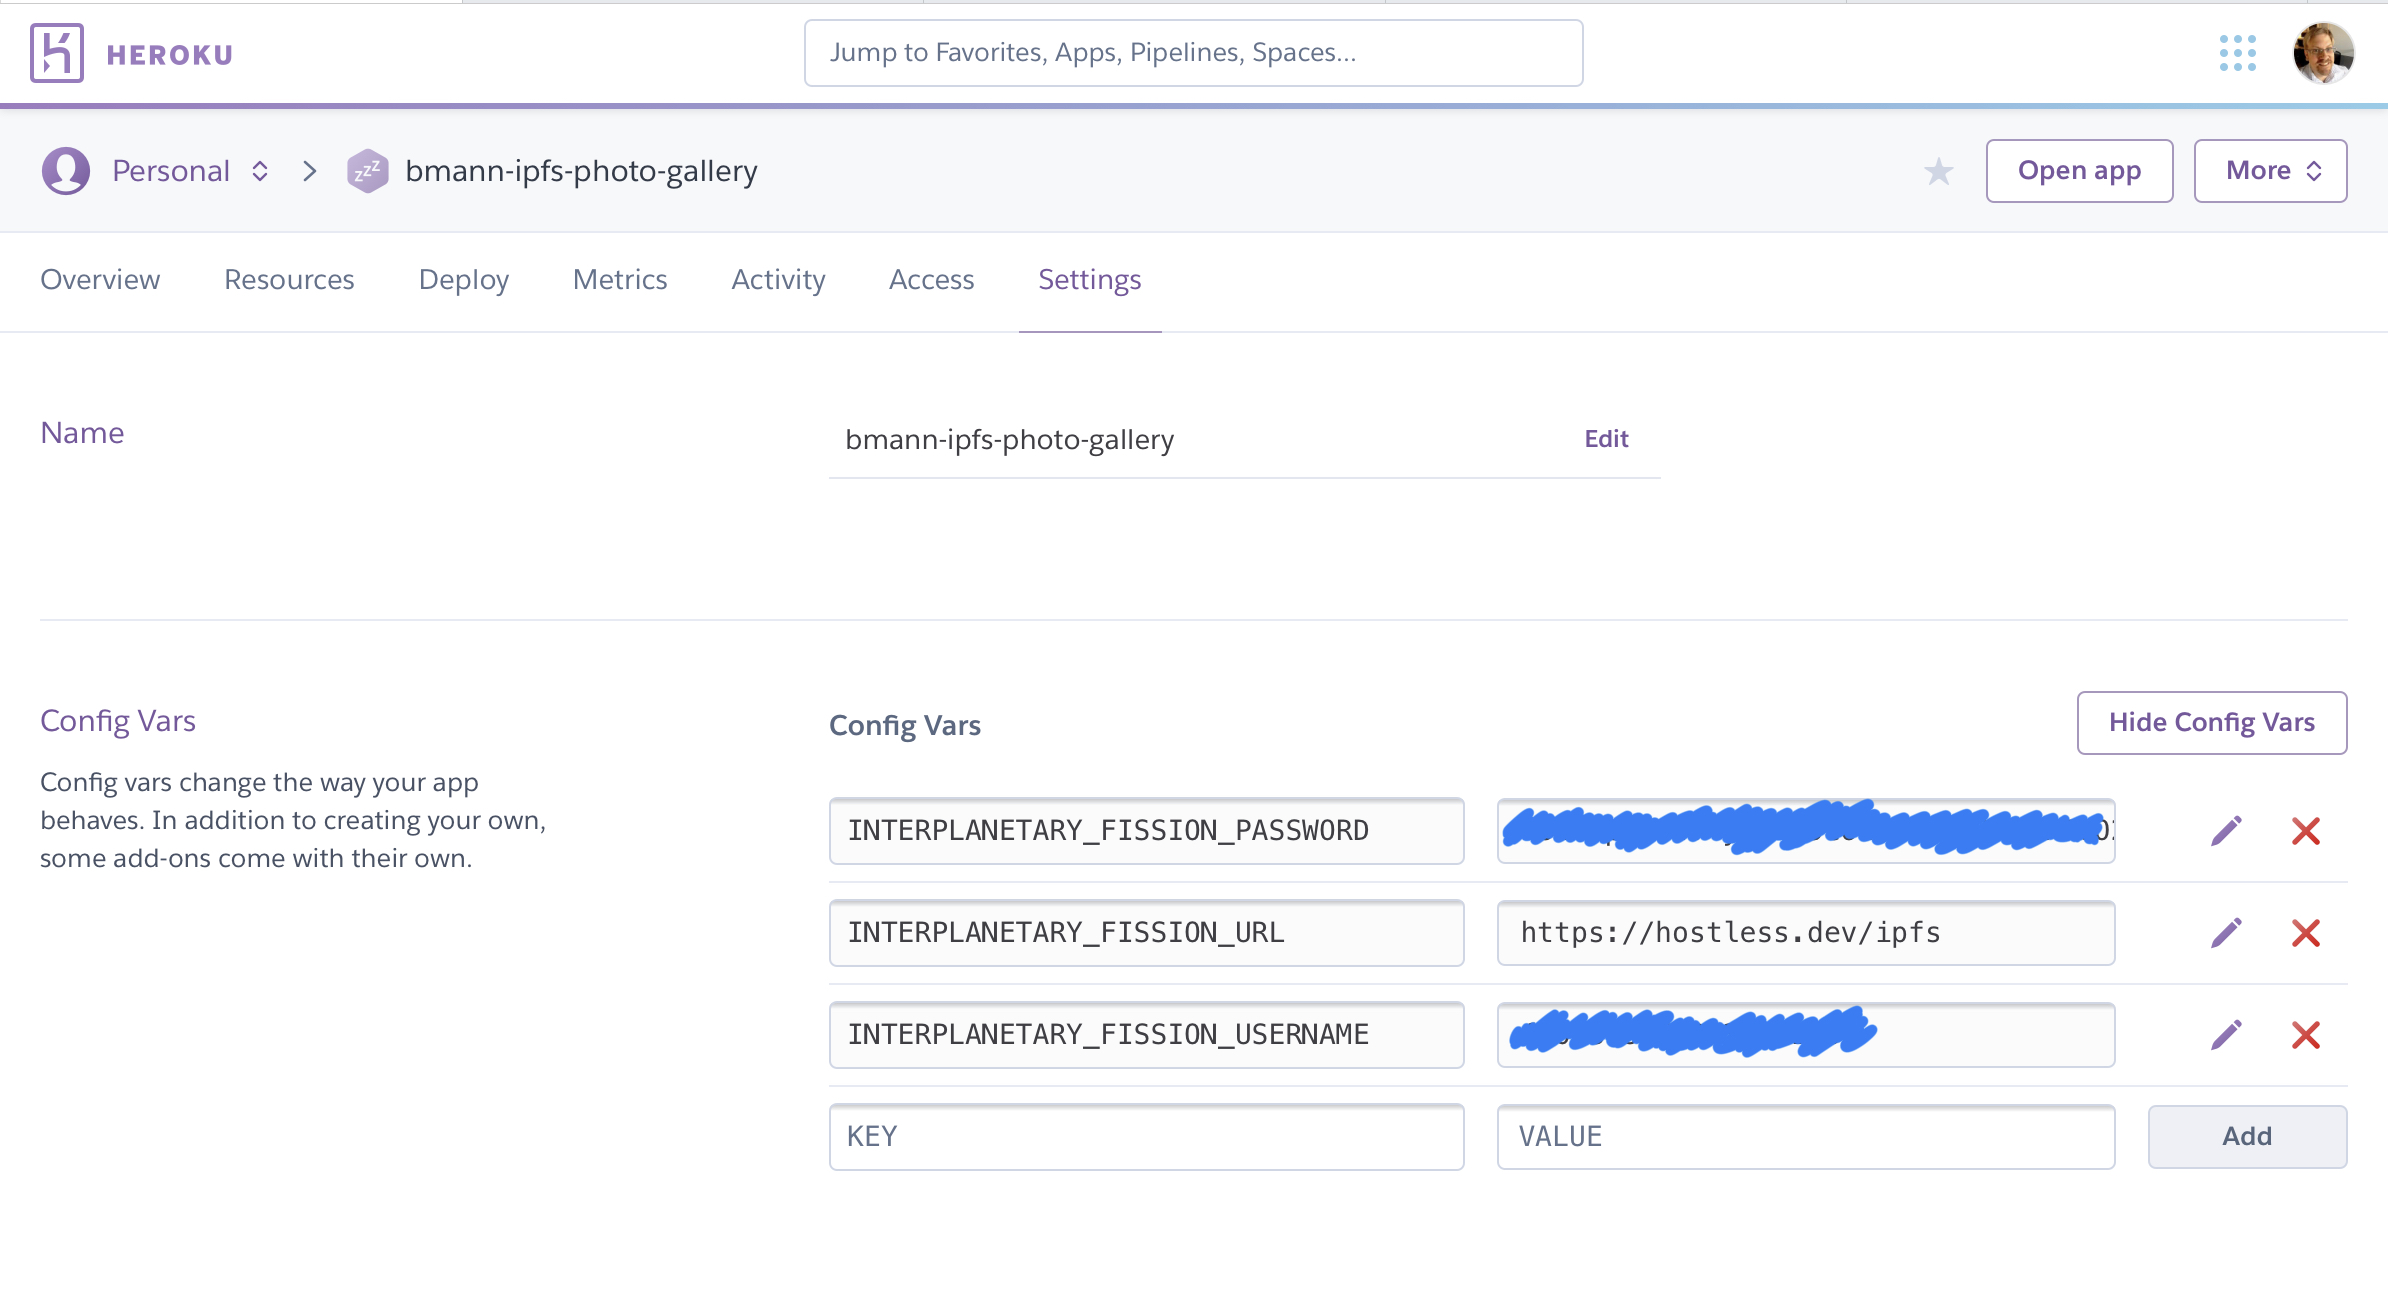
Visit the Heroku Dashboard to retrieve credentials
Go to the Heroku dashboard and go to the app you just created.
On the Settings page, select “Reveal Config Vars” button, which will show you the environment variables for the FISSION Add-on.

Copy the PASSWORD and USERNAME variables.
Use curl on the commandline
On your local commandline, you can now use curl to upload files to the web API. FISSION will take the file, put it on the IPFS network, and return the hash of the file to you.
Run the following curl command, replacing USERNAME and PASSWORD with the variables you copied, and /path/to/FILENAME.jpg be the path to some image file on your system (the @ symbol in front of the file path indicates to use the contents of the file).
curl -i \
     -X POST \
     -H "Content-Type: application/octet-stream" \
     -u 'USERNAME:PASSWORD' \
     --data-binary @/path/to/FILENAME.jpg \
     https://hostless.dev/ipfs

You’ll get a hash returned representing the CID (content address) of the file on the IPFS network. This can be used anywhere that understands IPFS content addresses. The file is “pinned” by FISSION’s IPFS node and will remain online.
Since your username and password were used to upload the file, it means that it will also be displayed in your IPFS Photo Gallery app.
Note: there is currently a limit of 100MB per file

