IPFS User Settings App
We’ve been hard at working cooking up cool new experiments with IPFS. If you haven’t yet, check out our Photo Gallery App.
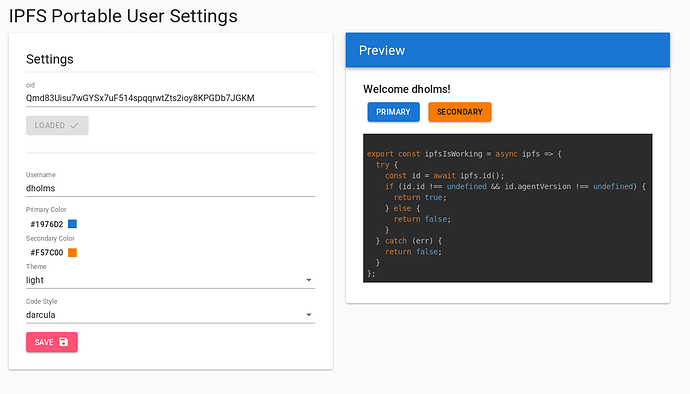
The most recent application came from a simple idea: your user preferences are generally the same across apps, so why fill out that same information in every app? Introducing IPFS User Settings: a completely client side application that allows you to update your preferences once and take them with you wherever you go.
If your browser is IPFS-enabled and you’re running a local daemon, the app connects to that daemon. If not, it gracefully falls back to an in-browser instance of js-ipfs.
This project yielded a pretty neat demo, but also some useful technical offshoots:
-
We figured that the IPFS fallback functionality would be helpful for any developer that was trying to deploy a webapp that makes use of IPFS so we wrapped it into it’s own package get-ipfs. Give it a go and let us know how it works for you!
-
This app was also our first time using the FISSION javascript client in the wild. Specifically, we use it for pinning saved settings to our hosted node. Check out the library and see what cool uses you can come up with!
-
While we were already hosting an IPFS node, our hosted node is now much more robust. It’s capable of handling secure websocket connects (so it can talk to in-browser
js-ipfsnodes!) and stores data in s3. Check out the walkthrough we posted for setting up your own IPFS node on AWS!
You can play around with the demo Here. Or keep reading to find out how to build and host your own!
Running the User Settings App
Fork the repo
Note: This is only necessary you are planning on deploying your own user settings app. If you just want to play around locally, you can simply clone the repository.
Click “Fork” in the upper-right corner of the repository.

Clone the repo locally
In your terminal, clone the ipfs-user-settings repo
git clone https://github.com/$YOUR_USERNAME/ipfs-user-settings.git
and cd into that directory
cd ipfs-user-settings
Setup environment
The environment variables are optional, but will need to be setup for the best user experience.
First, create a .env file in the root of the repository:
touch .env
Your .env will end up looking something like this:
REACT_APP_DEFAULT_CID = QmUWWqCNSdZmus7mc52um5cpqUi1CaE97AzBTY7iWfBXV9

REACT_APP_BOOTSTRAP_NODE = /dns4/ipfs.runfission.com/tcp/4003/wss/ipfs/QmVLEz2SxoNiFnuyLpbXsH6SvjPTrHNMU88vCQZyhgBzgw

REACT_APP_INTERPLANETARY_FISSION_URL = https://runfission.com

REACT_APP_INTERPLANETARY_FISSION_USERNAME = ADD_USERNAME_HERE

REACT_APP_INTERPLANETARY_FISSION_PASSWORD = ADD_PASSWORD_HERE
Let’s walk through what each of those variables will do.
REACT_APP_DEFAULT_CID: the cid that contains the default settings that you want a new user to see. You can set it to the above value for our recommended defaults (or leave it blank and it will default to that).
REACT_APP_BOOTSTRAP_NODE: the multiaddr of the ipfs node that you would like the user’s node to connect to. You can set it to the above value to connect to the IPFS node that Fission hosts (or leave it blank and it will default to that).
Note: if you use a custom node, it must be interoperable with js-ipfs. This means that it either needs to connect via WebRTC or Secured Websockets (note the wss in the above multiaddr).
REACT_APP_INTERPLANETARY_FISSION_...: the last three variables are your provisioned account information for using the Fission web-api. These are used for pinning content to the Fission IPFS node so that content will stay online even after a user goes offline. If you leave them blank, the webapp will not pin user content. At the moment, these can be obtained by joining the Fission Heroku add-on alpha. If you’ve tried out our earlier photo gallery demo, you can use the same credentials here, otherwise follow that tutorial to provision a username and password
Run the app locally
First install dependencies:
npm install
Then run the app:
npm run start
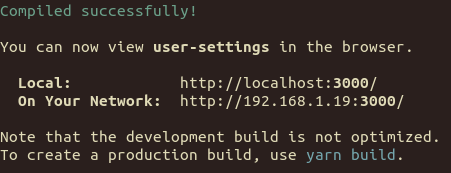
This will open up a page in your browser at http://localhost:3000

Play around a bit! Try changing your settings, saving it, and loading past CIDs.
Build app
Change homepage: Open package.json and change the homepage to the url where this site will be hosted ($YOUR_USERNAME.github.io/ipfs-user-settings).
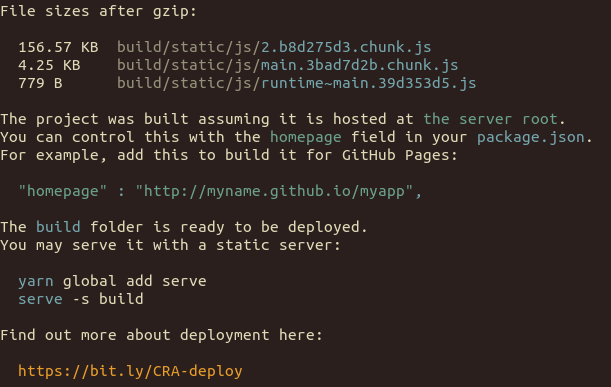
Build the app: npm run build

Deploy app
Deploy with your favorite tool: Heroku, Github pages, etc. Or if you’re reading this a month from now, use the new Fission “Live from your laptop” tool 
We’ve included a deployment command for Github pages.
First, make sure that your repository is set as the git remote, this won’t work if it’s still set to fission-suite.
Run: git remote -v and ensure that that the url next to remote is https://github.com/$YOUR_USERNAME/ipfs-user-settings.git

Deploy the app:
npm run deploy

Now open your browser to $YOUR_USERNAME.github.io/ipfs-user-settings to see your site up and running!
